Our company recently refresh notebook spec minimum hard disk space from 256GB to 512GB. Deploying notebook using MDT has become challenging because for the notebook with 256GB we maintain whole drive as C without partition. While for the notebook with 512GB, we partition C to 300GB and the remaining to D.
After Googling for while, I found the answer from several tutorials. This requirement can be simply solved by adding a WMI query into task sequence.
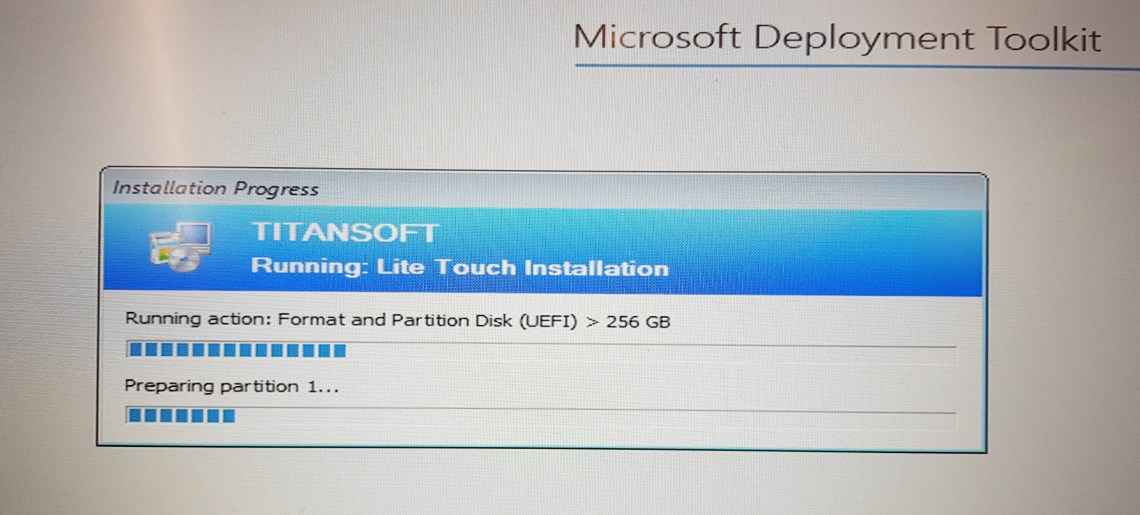
Let’s see how the configuration works!
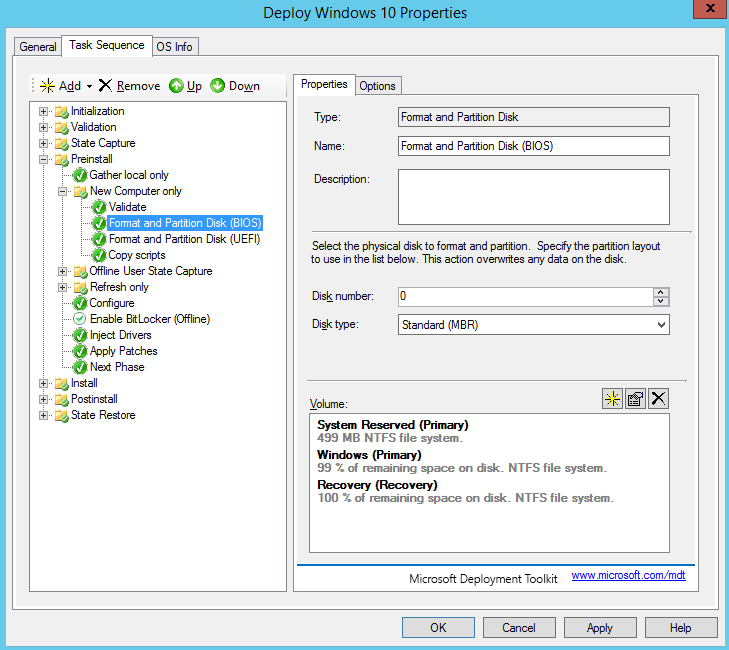
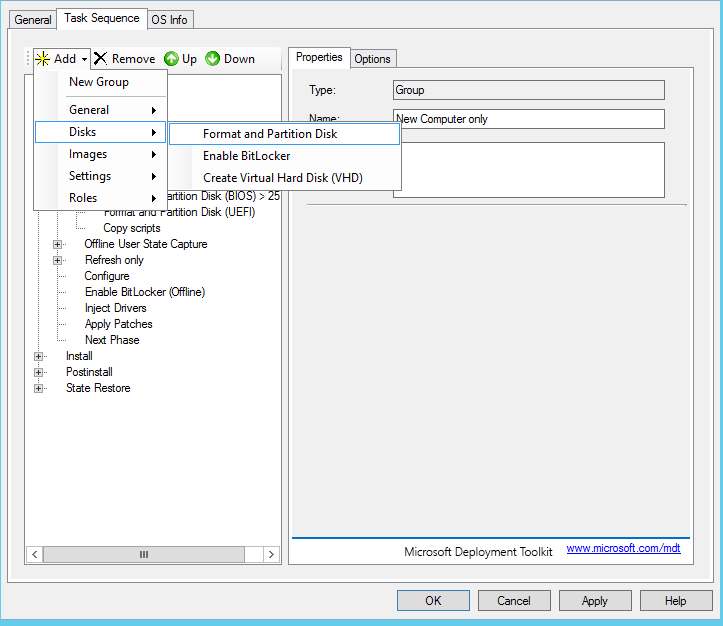
- Get into your Task Sequence and navigate to Preinstall->New Computer Only
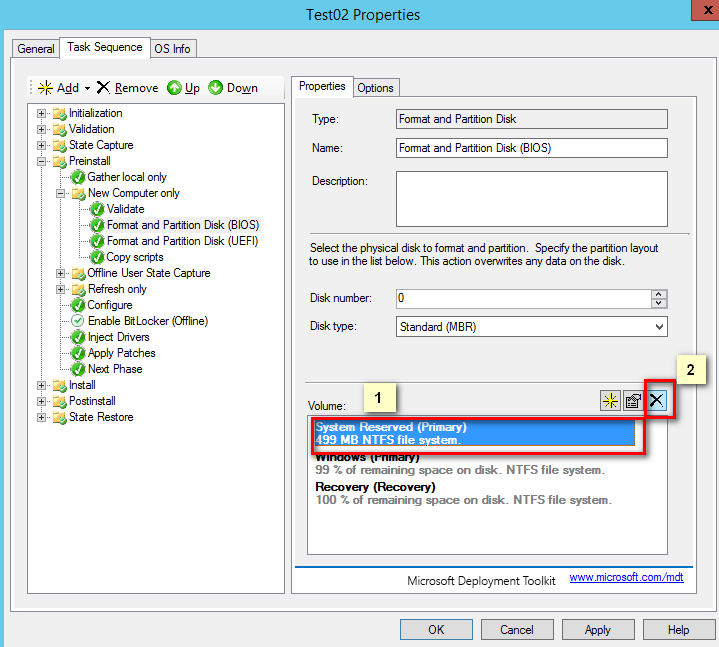
- Delete all existing volume, right-click the partition and click X to delete
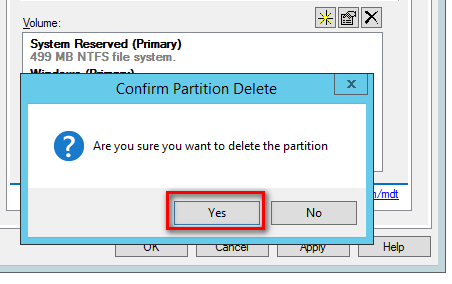
- Click Yes to confirm delete. Repeat the same process for the rest of the volume.
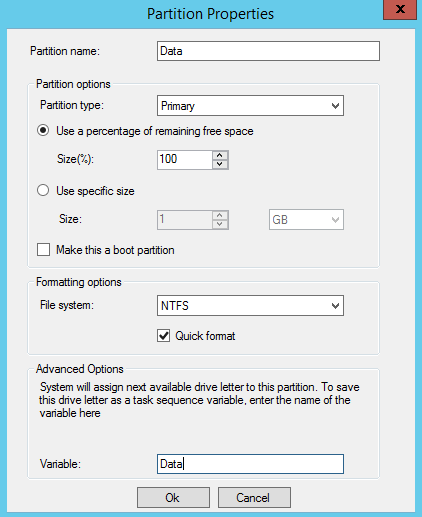
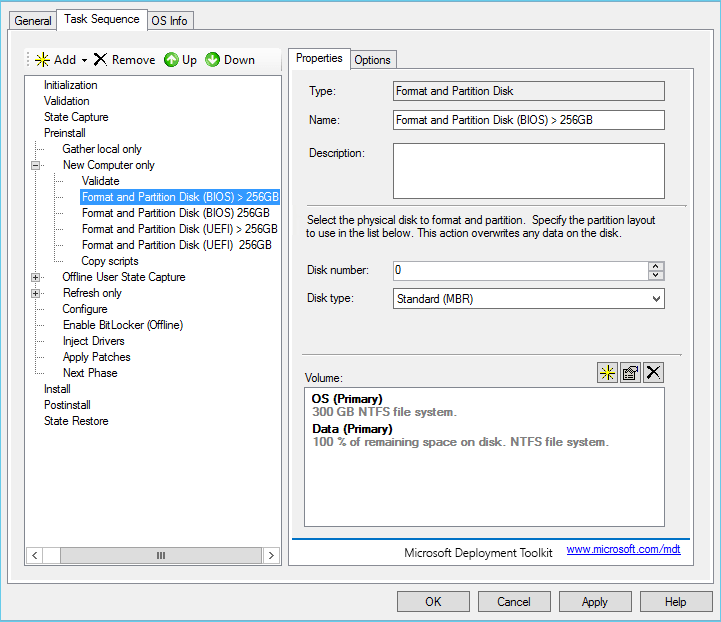
- Create the first volume for OS. I set 300GB for C drive

- Remaining will be my data drive, so use the percentage option
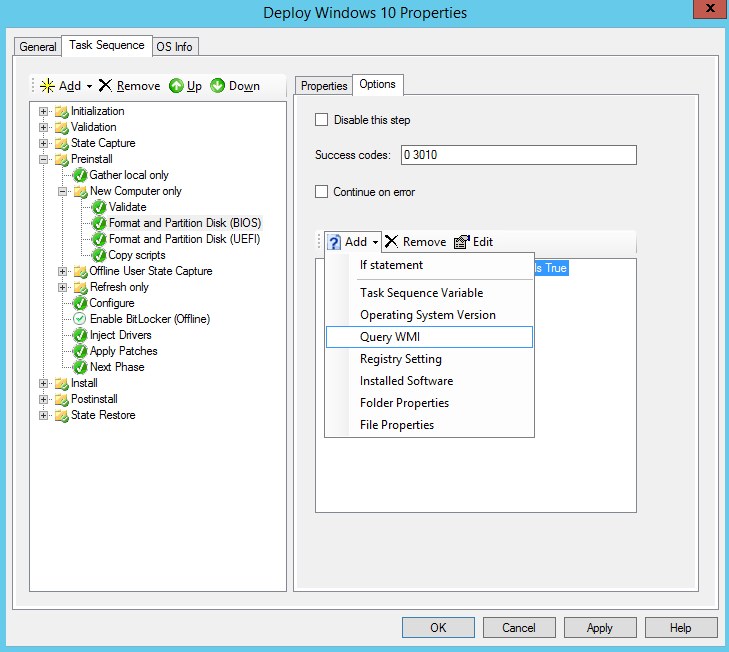
- Okay here is the trick, on the “Format and Partition Disk (BIOS)” click the “Options”
then select “Query WMI”
- Insert the following WMI query
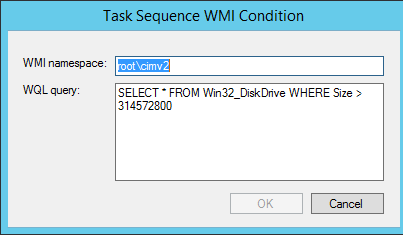
SELECT * FROM Win32_DiskDrive WHERE Size > 314572800
This means format C to 300 GB and remaining to D if my total hard disk size is more than 300GB.
Calculation as below
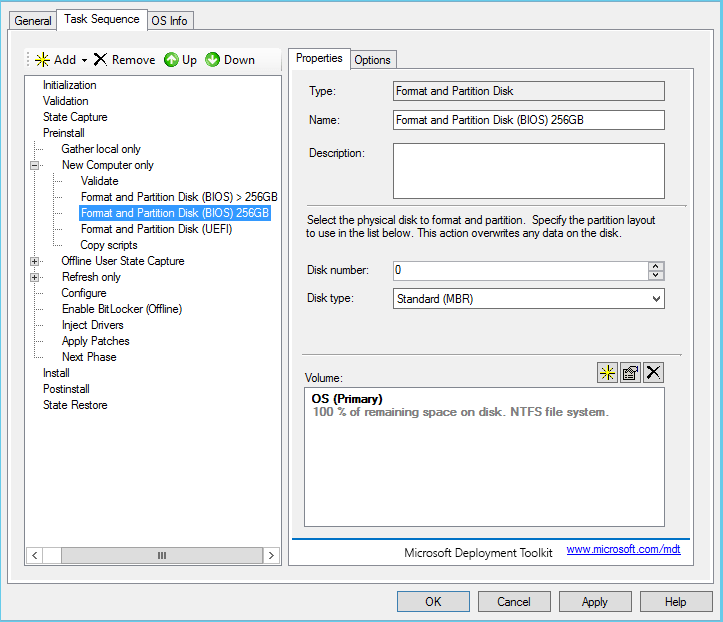
300 * 1024 * 1024 = 314572800 KB - Now we create another Task Sequence for hard disk which is 256GB
- Create 1 volume with 100% disk space remaining
- Insert WMI Query rule
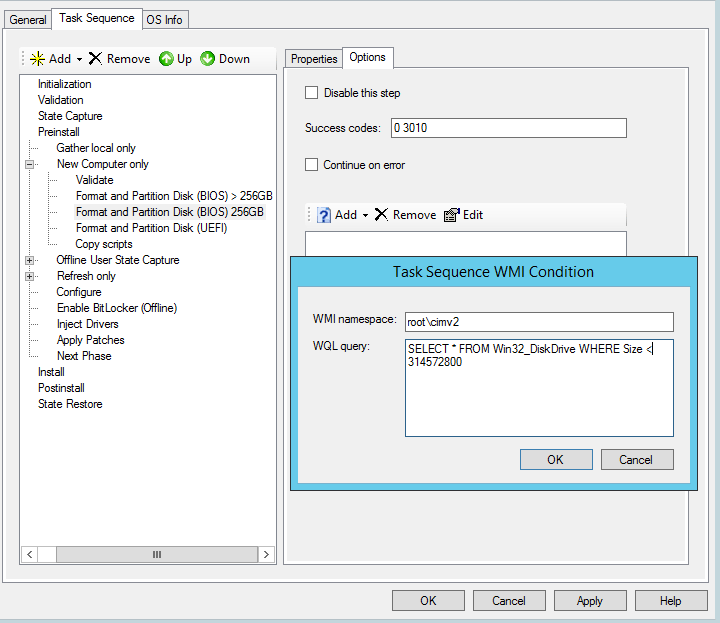
SELECT * FROM Win32_DiskDrive WHERE Size < 314572800
- Final result. Repeat the above step to create the task sequence for UEFI disk. Click Apply and OK.
 That’s it! hope you enjoy this tutorial.Special thanks to Johan from his blog
https://msfn.org/board/topic/149484-how-can-i-make-custom-partition-sizes-in-mdt-2010/

Utterly superb article!
LikeLike